
Create a Dynamic Form
How to create a Survey/ Form in Nudge?
Step-01: Click on Survey/ Form channel
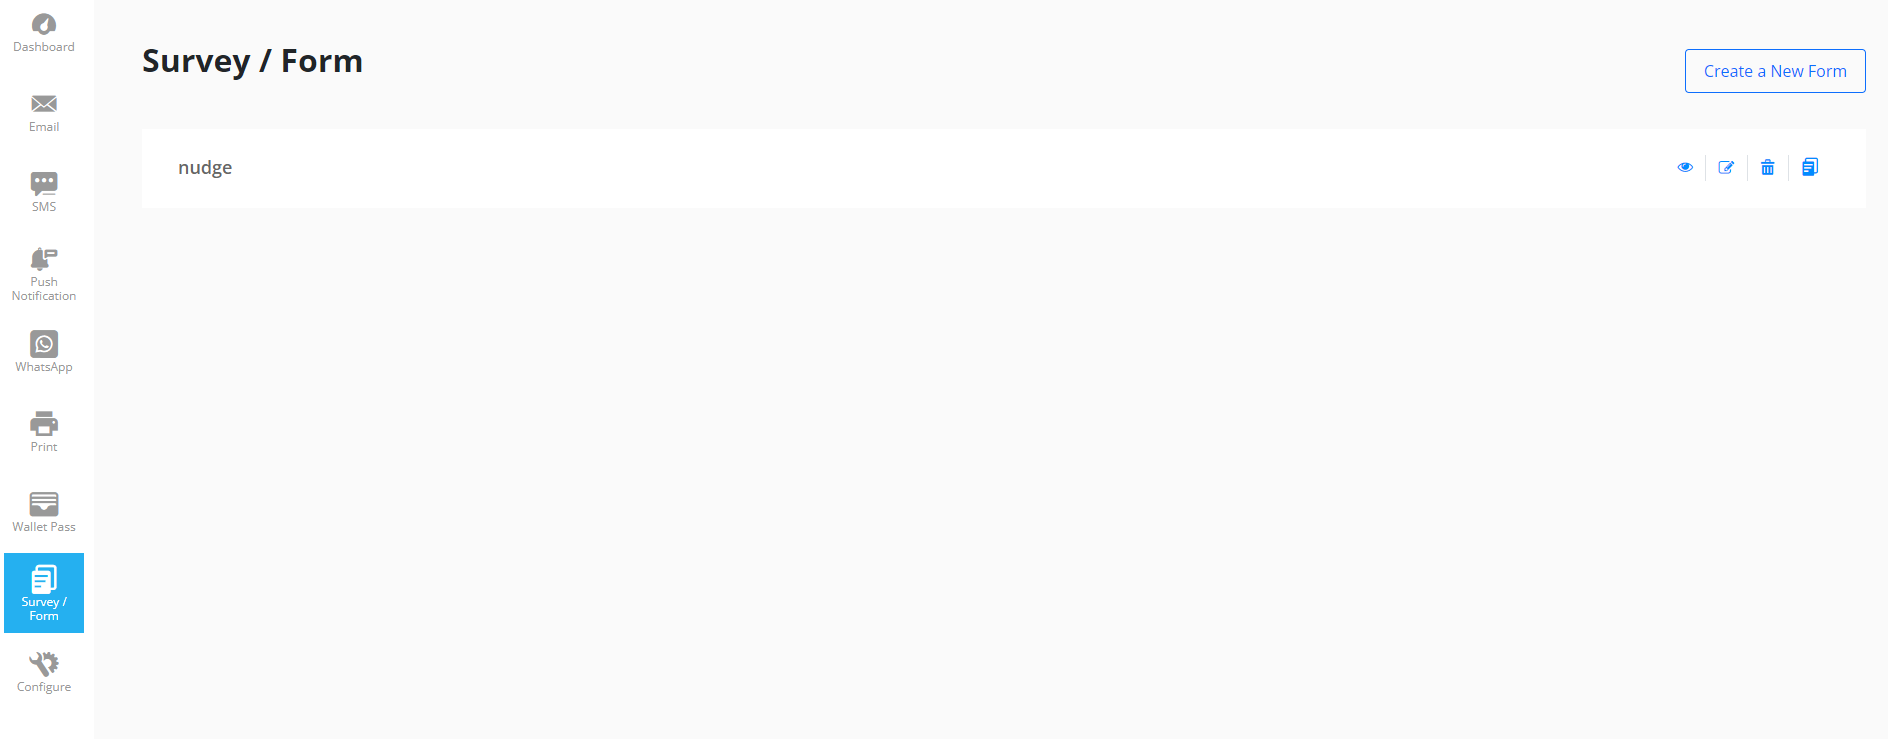
Here you view previously created surveys/forms. User can Preview, Edit, Delete and view Analytics/ Reports.
Below configuration can be utilized to create landing page layout for Program Enrollments, Surveys, Forms etc.,
Step-02: Click on Create a New Form to create a new survey/ form.
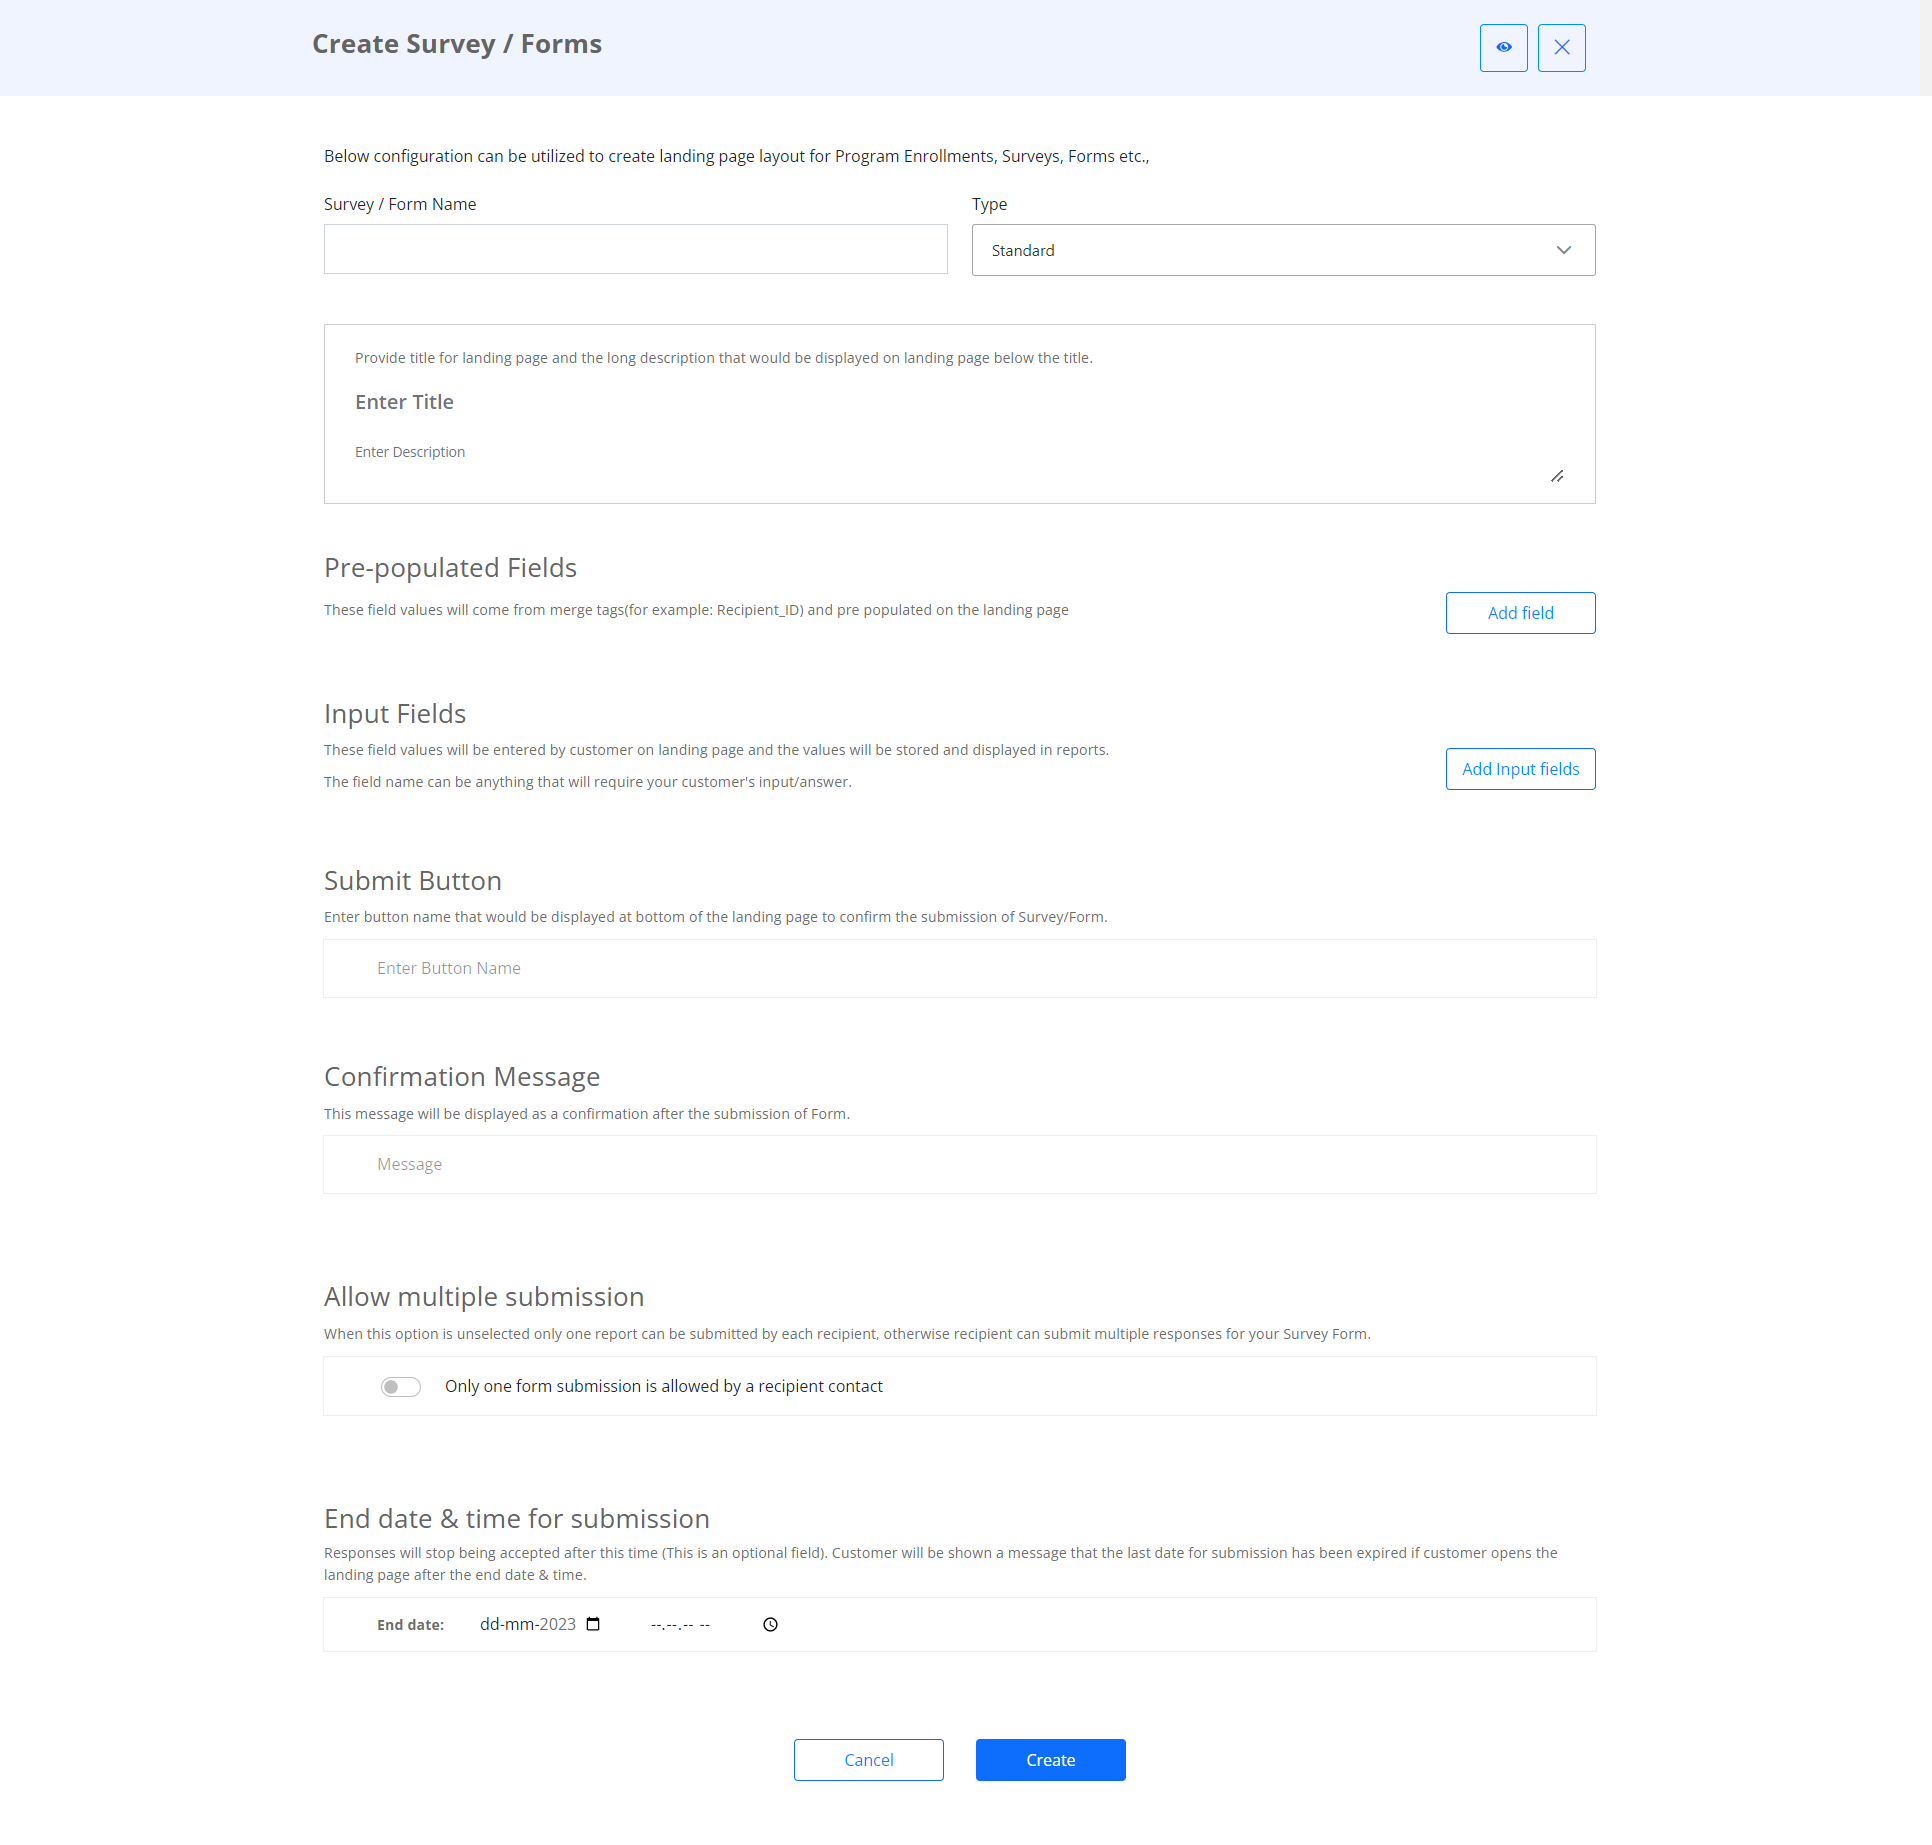
For the creating of a survey or enrollment form, all mandatory fields must be filled in.
Step-03: Give the Survey/ Form name, select the Type and the Provide title for landing page and the long description that would be displayed on landing page below the title.
Step-04: Add Pre-populated Fields
The fields that have already been filled in actual merge tags, whose values will be dynamically produced by the system and displayed to the customers when they are completing the form.
Click on the "Add field" button to add a new field.
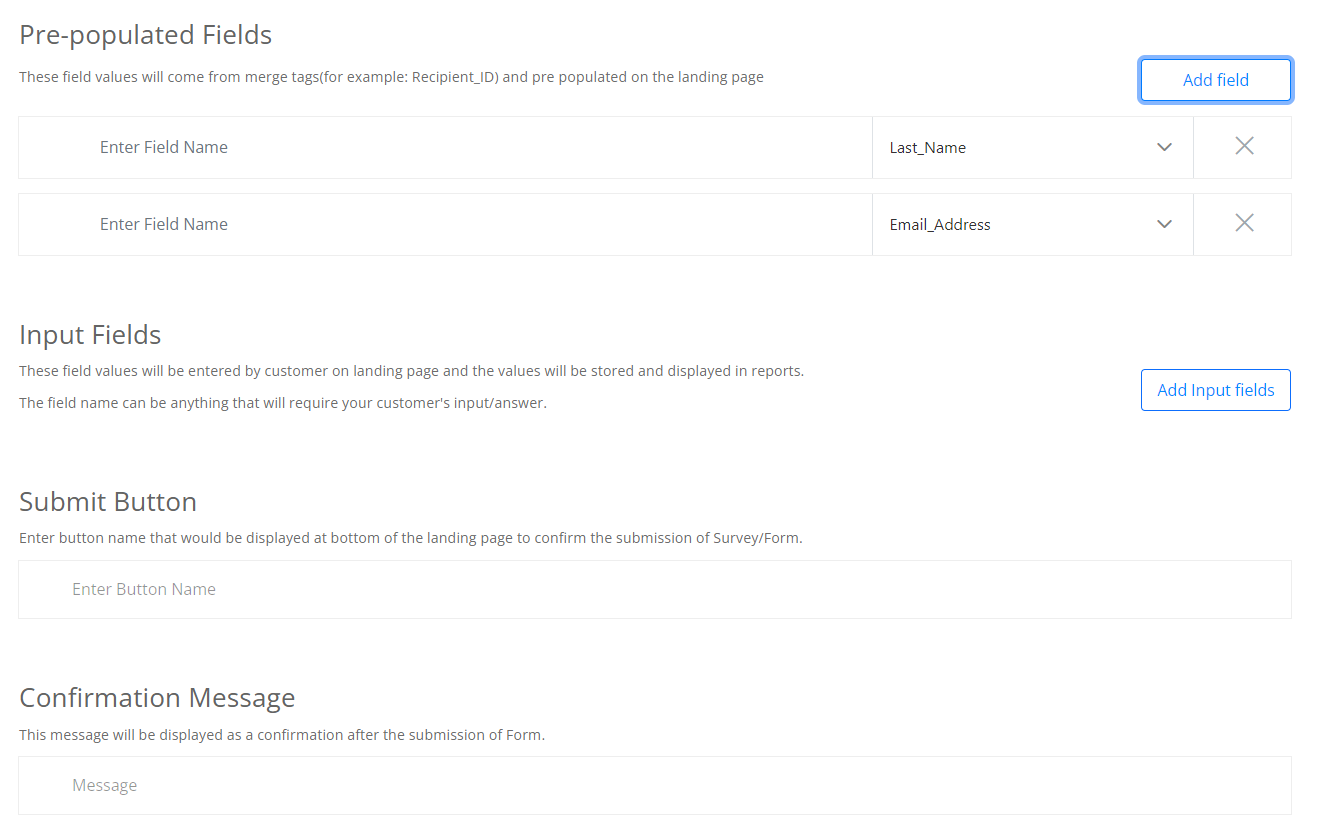
Enter the value for the added pre-populated field
You need to enter the merge tag name in the input field name and select the type from Dropdown.
Step-05: Add Input Fields
In order to allow the your customers/ audience to fill in the form fields, you need to add input fields by clicking on the "Add input fields" button.
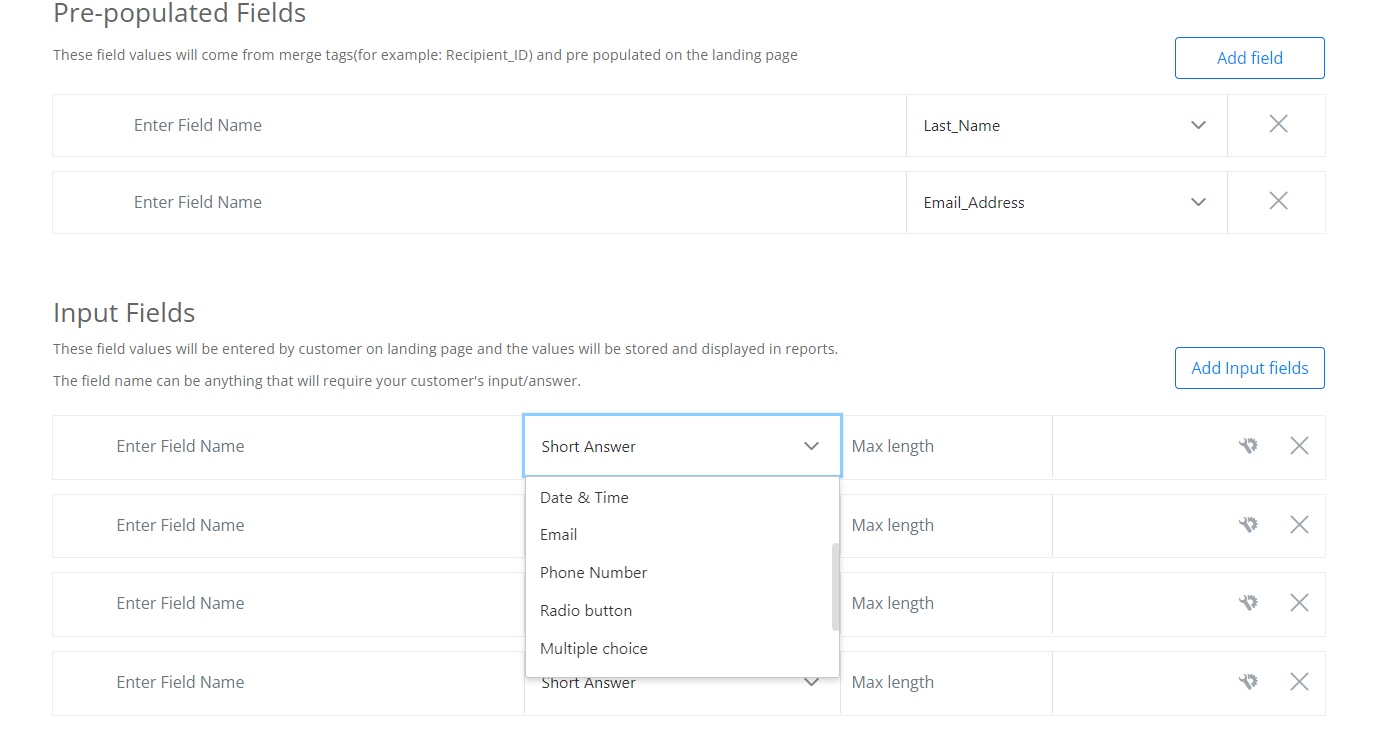
The system will show the input field name, type, and length of the field that you want to add to your survey form. You can select the type of answer, how it should be answer like Short Answer, Long Text, Date & Time, Email, Phone Number, Multiple Choice, Check Box, Attachments and more.
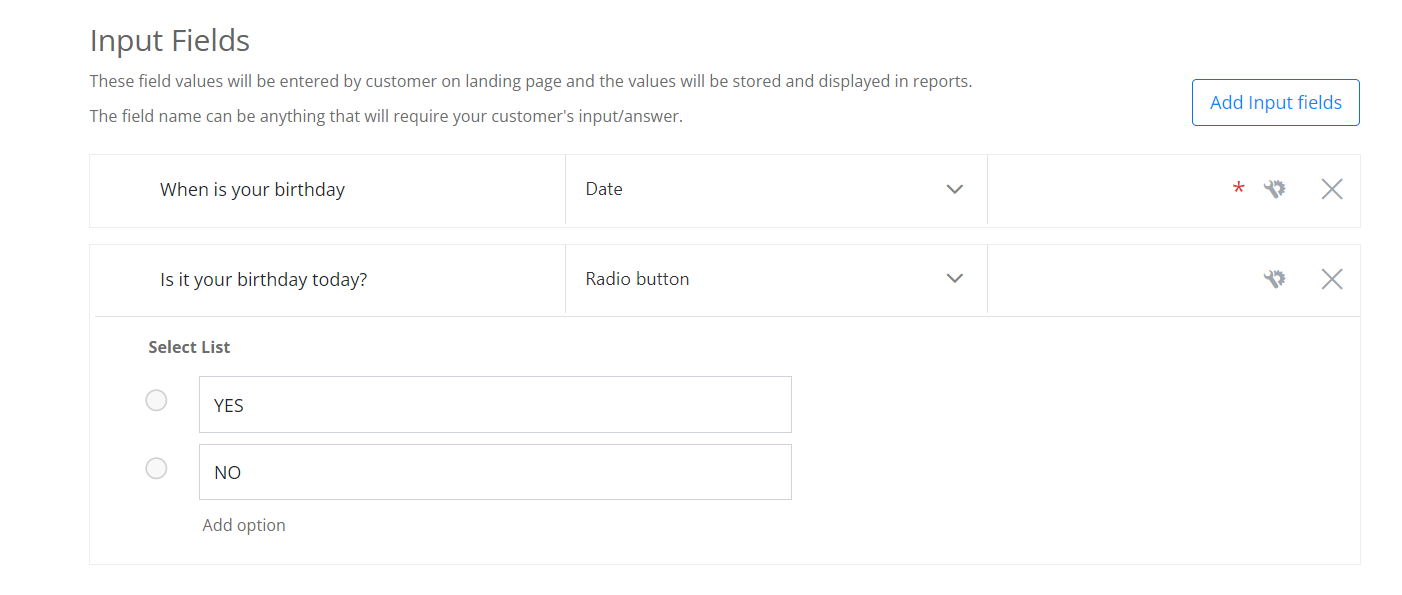
In survey forms we have a option of adding conditions, based on the options selected the next question will be reflected.
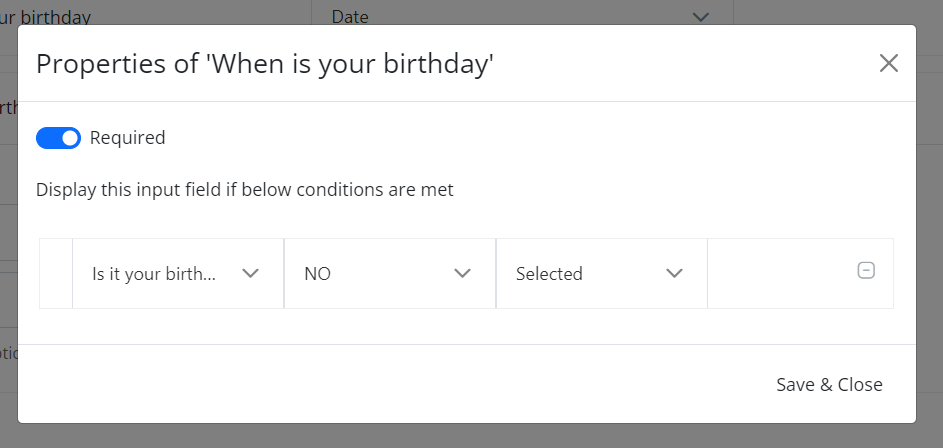
Click on the +(Plus) icon to add the condition.
Give the condition like when you want to pop the next question?
If it is when the customer clicks on NO/YES(Based on the above example) Selected/not selected all the fields need to be selected and click on save and close.
So based on the option customer has selected you will get the next question.
Step-06: Enter Submit Button Name
After adding all the fields that you want to fill up, enter the submit button name. That name will be shown to the customers in Surveys/ Forms.
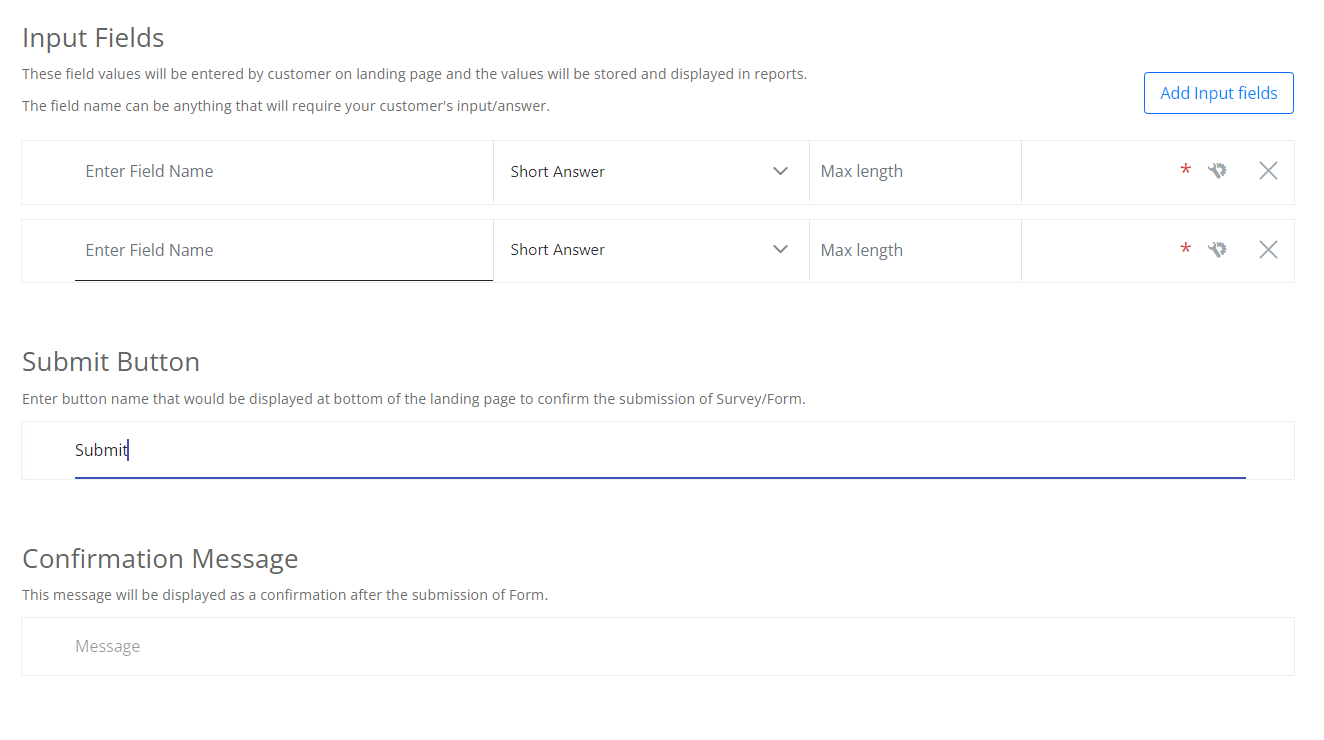
You can give Submit Button as "Submit" as per you requirement.
Step-07: Enter Confirmation Message
Give the confirmation message that will appear when the customer fills the survey/ form and clicks on the submit button. Enter the message in confirmation message field.
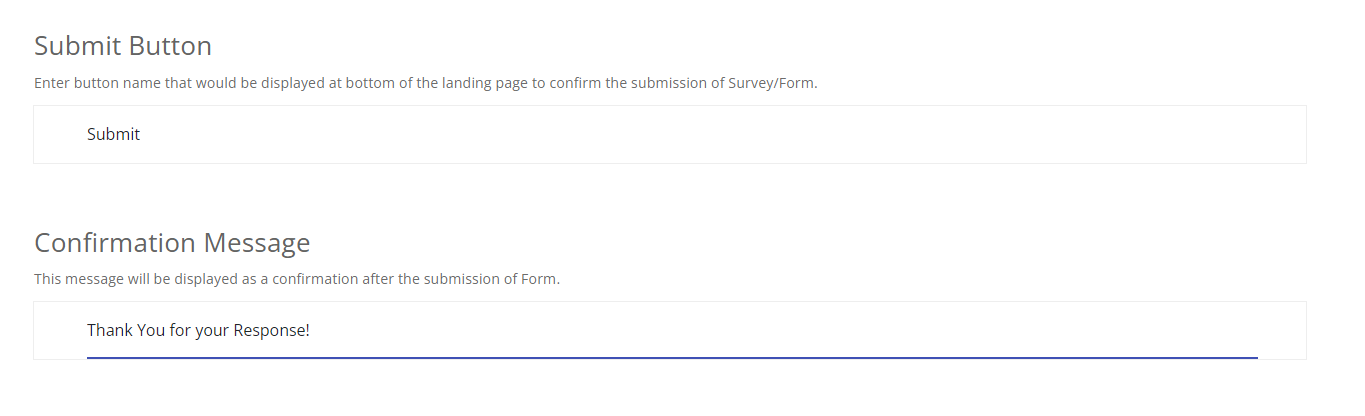
You can customize the message as per your requirement like "Than you" "Thank you for your Response" etc..
Step-08: Allow Multiple Submission
You Switch the button in Allow Multiple Submission field.
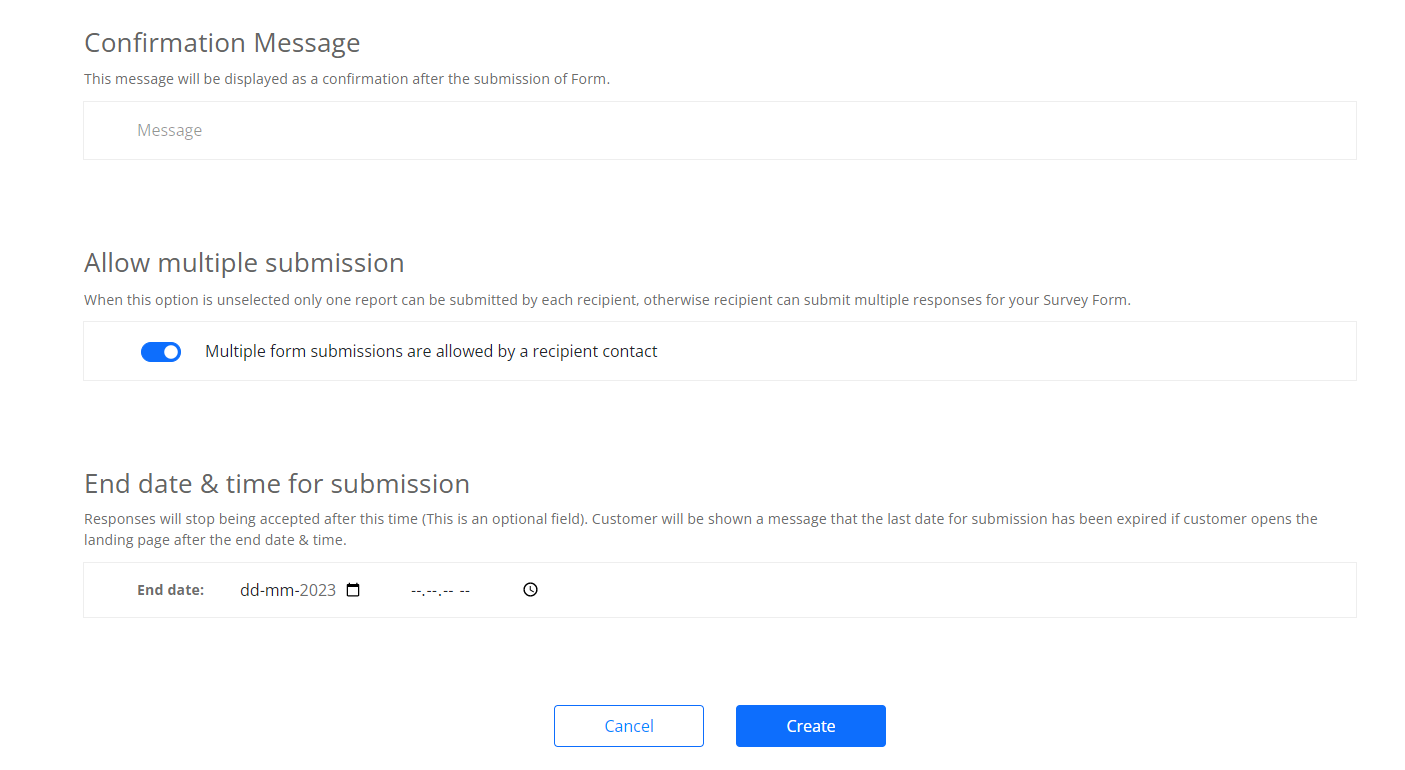
Your customers can submit the Survey/ Form multiple times by allowing the multiple submission button.
Step-09: Enter the End date and time for submission
You can select the End time and End date for survey/ form.
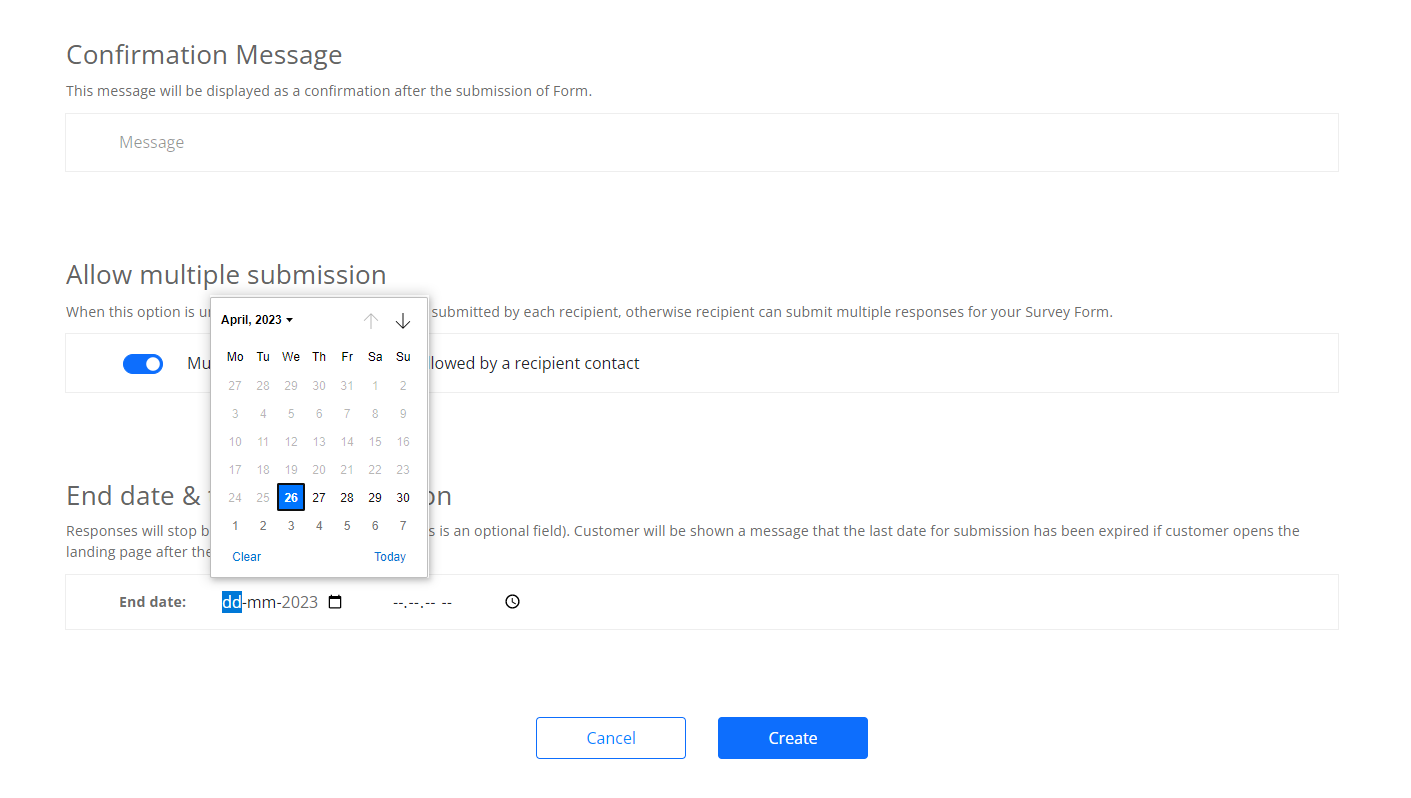
You can add End Date for submission.
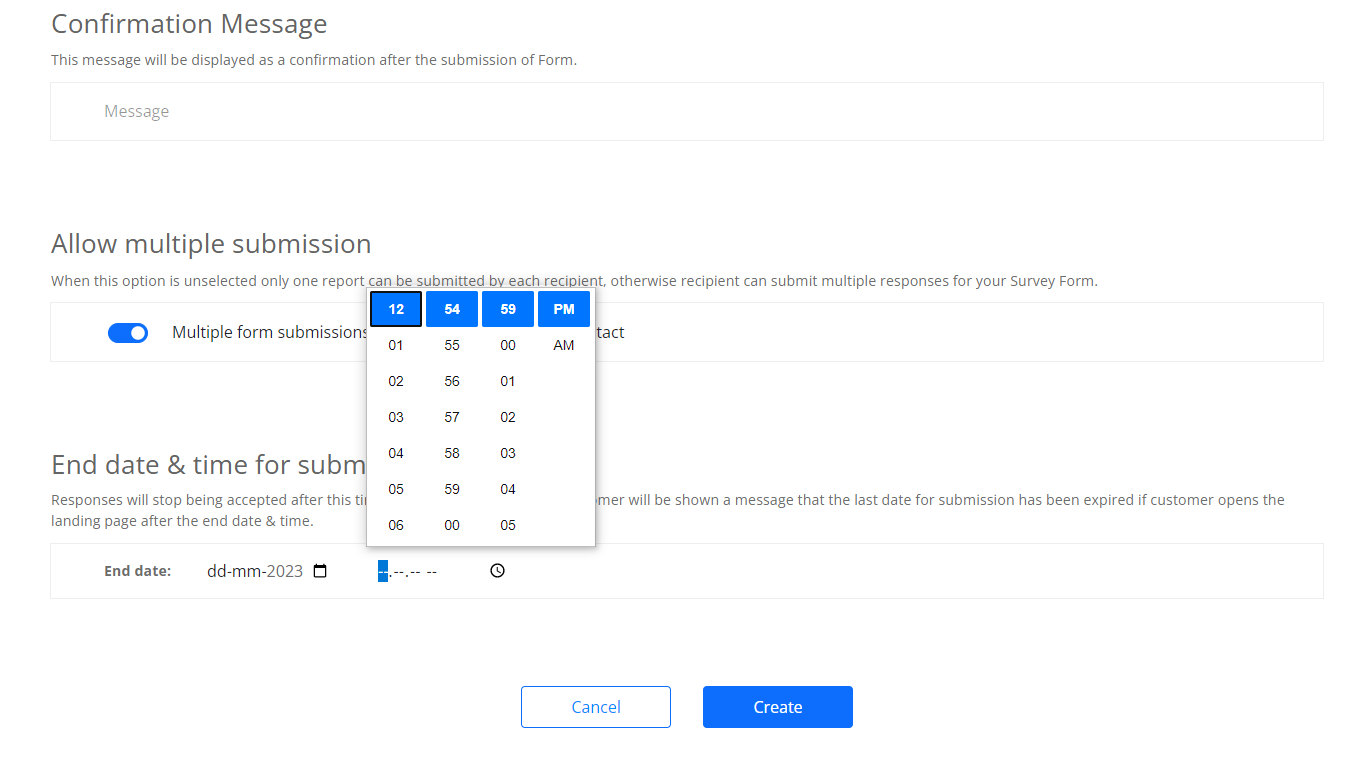
You can add End Time for submission.
If you select the end date and end time that means by that time submissions will be closed.
Step-10: Create Survey/ Form
Click on create to get a survey/ form merge tag.
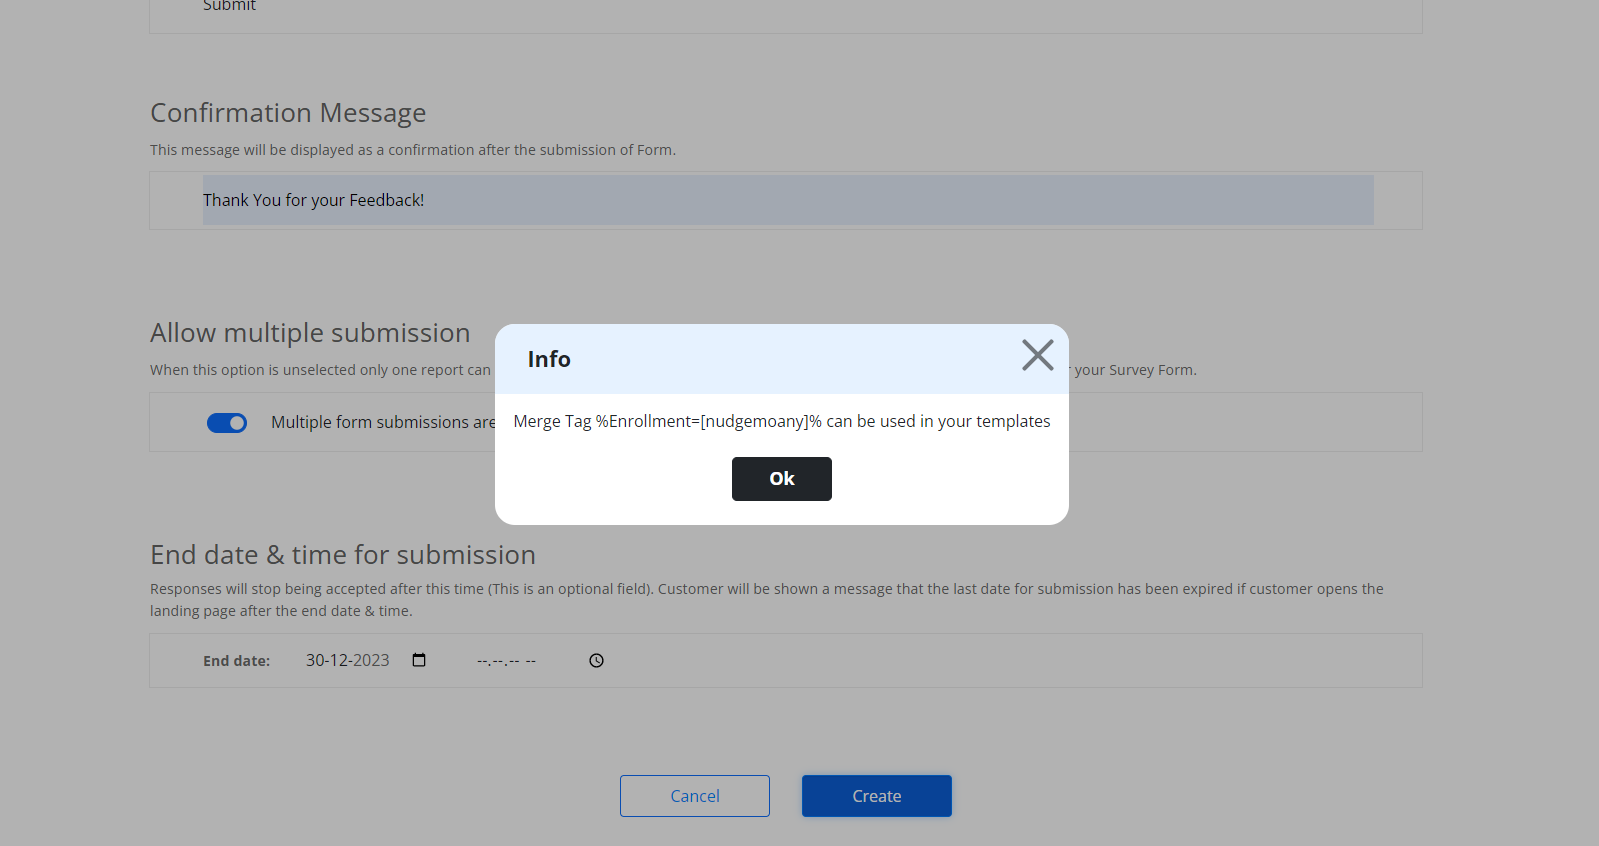
After creating a survey/ form you will get a Merge Tag Enrollment. This merge tag can be used in your templates of any channels like Email, SMS, WhatsApp.